Collecting Ticket Buyer Information
How do I collect basic information from my attendees?
-
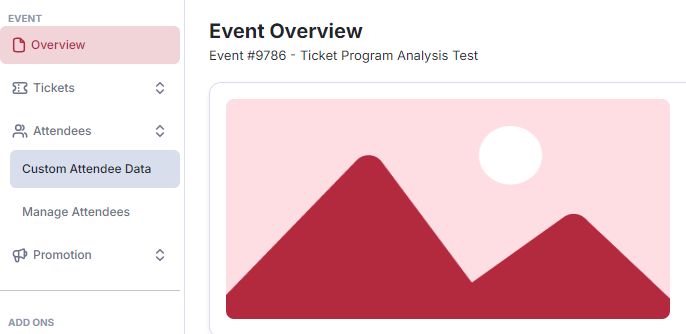
From your event's overview page, click the Attendees tab on the left. Then click Custom Attendee Data.
- This page allows you to select the information you want to collect from your buyers and attendees. Name, Email, and Mobile Phone are the defaults.
-
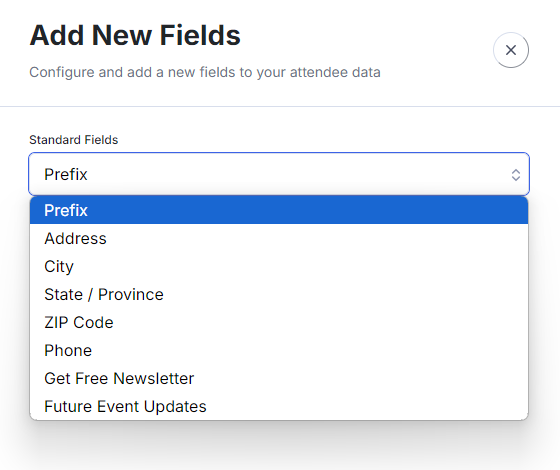
AttendStar has provided some standard fields. To find those, click the red Add Field button at the top right of the page.
-
Make your choice, then click the red Add Field button at the bottom of the page.
-
If you want to create a custom field, click the red Add Custom Field button at the top of the page.
- This page will let you create your own custom field. Type in the question or the name of the field (i.e., What is the name of your dog? or Meal Preference) and what field type it will be.
- The Name Field is best for short, fill-in-the-blank type answers with no set choices.
- Select Field Type options:
- The Textbox is best for short sentences.
- The Text Area is best for longer, paragraph-type answers.
- The Radio Button is the best option if you only want your ticket buyers to select one answer from a set list of choices.
- The Check Boxes are the best solution if you want your ticket buyers to be able to select more than one answer from a set list of choices.
- The Dropdown option is another single-choice from a list of answers.


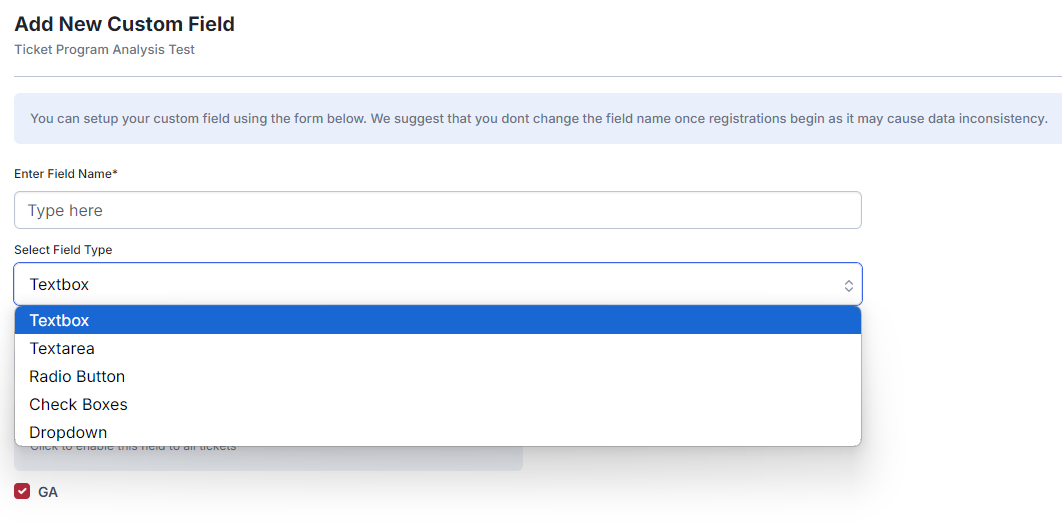
- After you select the type of custom field you want, check the boxes next to the tickets to which you want to apply it. Then click the red Add Field button at the bottom of the page.
- Now that you have added the fields you want, you can choose what is required and what is to be displayed, both or neither. You have two categories--your ticket buyer and your ticket buyer's guests. To alter what is required and displayed, check or un-check the boxes you want to change! It's that easy!
- If a field is Required, the buyer must fill it out before purchasing tickets.
- If a field is Displayed, it will only show up and is an optional field to fill out; it can be left blank or skipped by the ticket buyer.
- If neither Required nor Displayed are selected, the field will not appear.
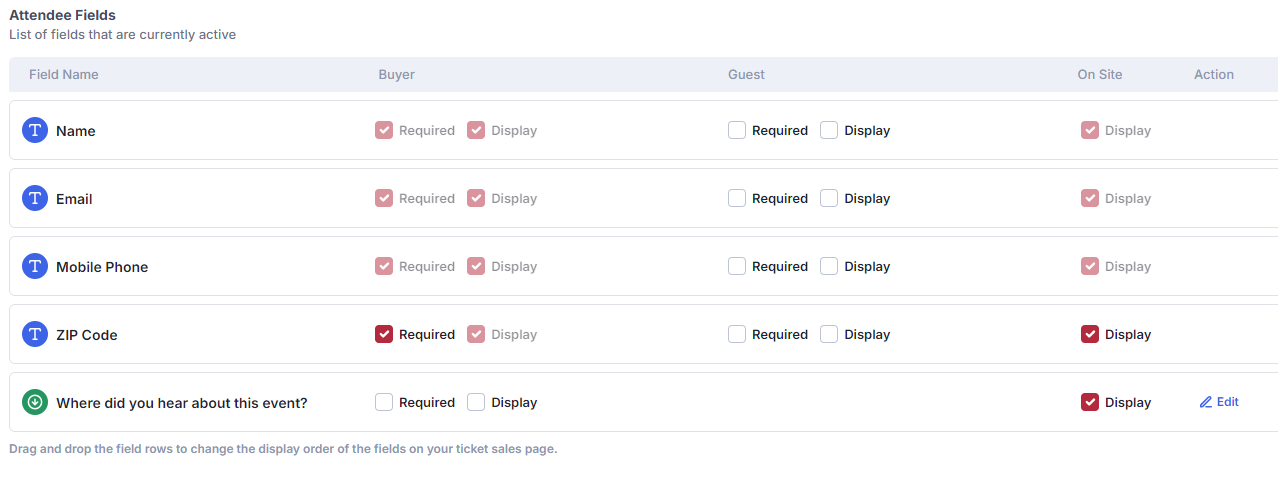
- You can rearrange the order of the fields, which will affect how they appear to the ticket buyer, by clicking and dragging each field into place.
-
When you finished adding and arranging fields, click the red Save Changes button at the bottom of the page.

